Using Claude Desktop with the CloudRouter API
Turn Claude Desktop into your own CloudRouter API desktop client. Once configured, model calls go through the CloudRouter API instead of consuming your official Claude subscription quota, and you won't run into account bans or regional restrictions.
Step 1. Download and open Claude Desktop
- Download and install Claude Desktop from https://code.claude.com/docs/en/desktop;
- Open Claude Desktop, but do not log in yet (don't click "Get Started").
Step 2. Enable Developer Mode
On macOS:
- Open the menu and choose Help → Troubleshooting → Enable developer mode.
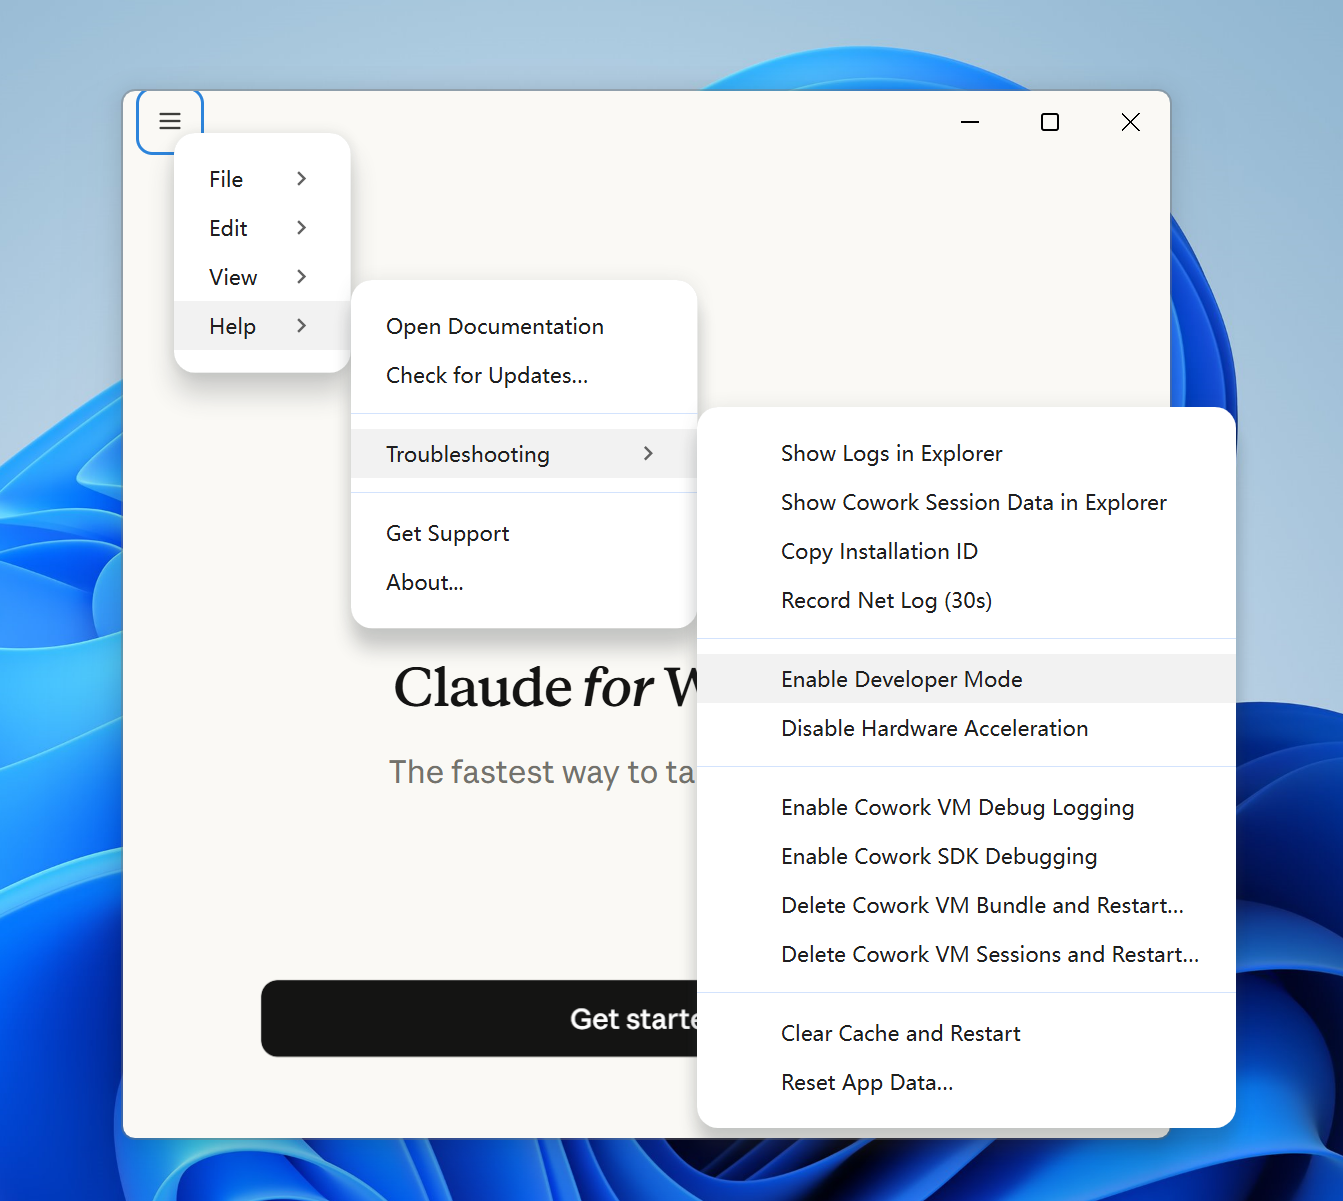
On Windows:
- The menu can be hard to click directly. Press Tab to move to the menu area in the top-left corner, then press Enter to open the menu.
- In the top menu bar, choose Help → Troubleshooting.
- In the submenu that appears, click Enable Developer Mode.
After enabling developer mode, Claude Desktop restarts automatically.
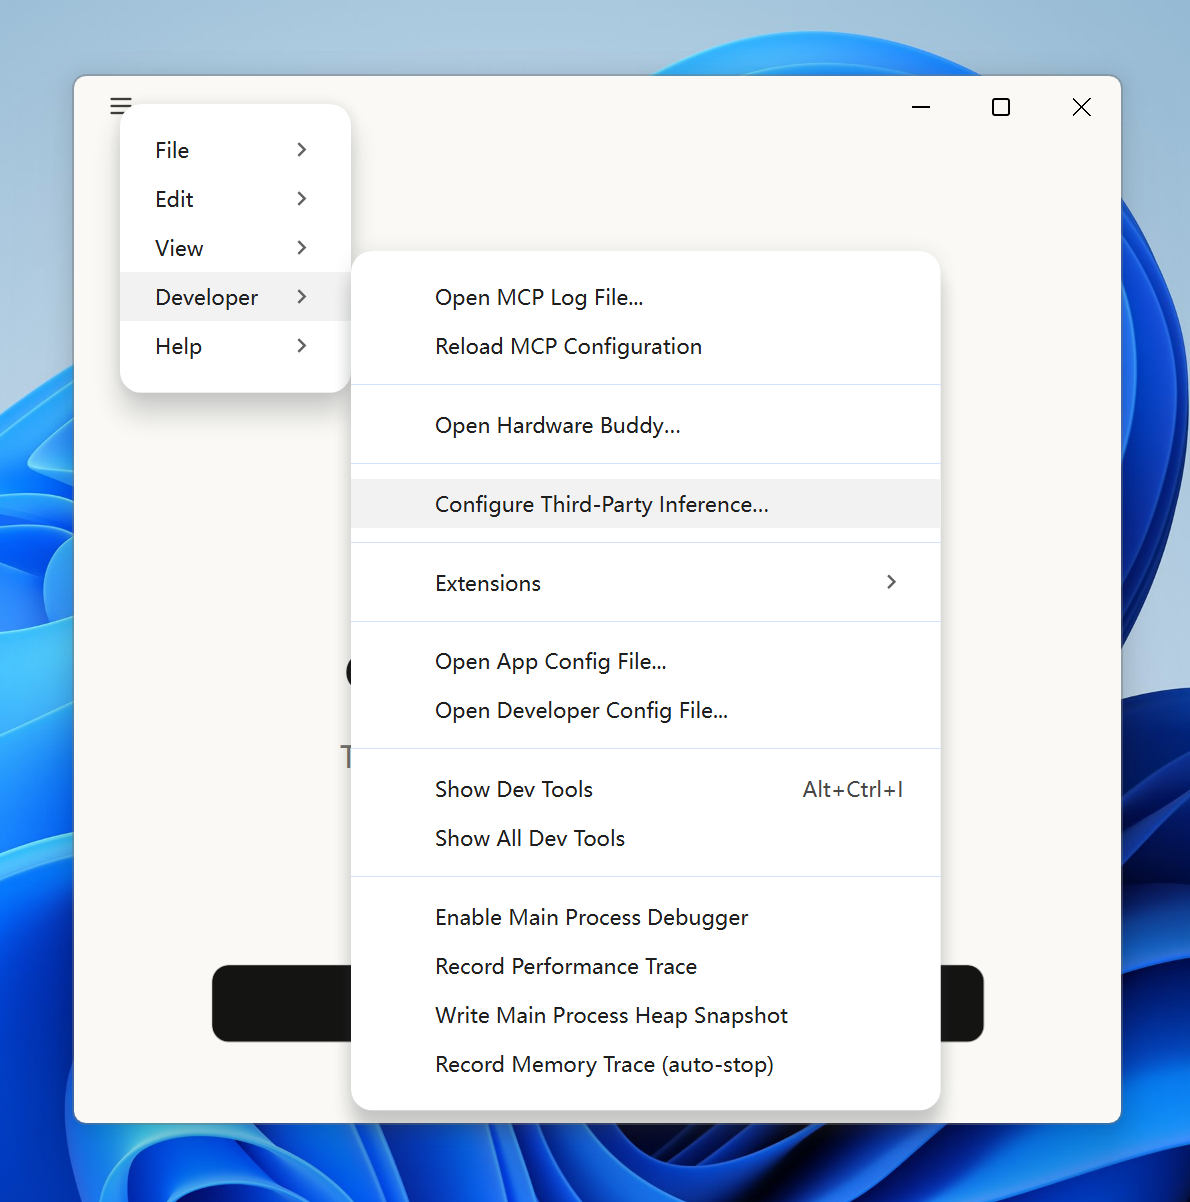
Once restarted, a new Developer menu appears in the top menu bar.
Step 3. Configure the CloudRouter API
- Click the newly added Developer menu.
- Select Configure Third-Party Inference....
Fill in the CloudRouter Base URL and API Key.
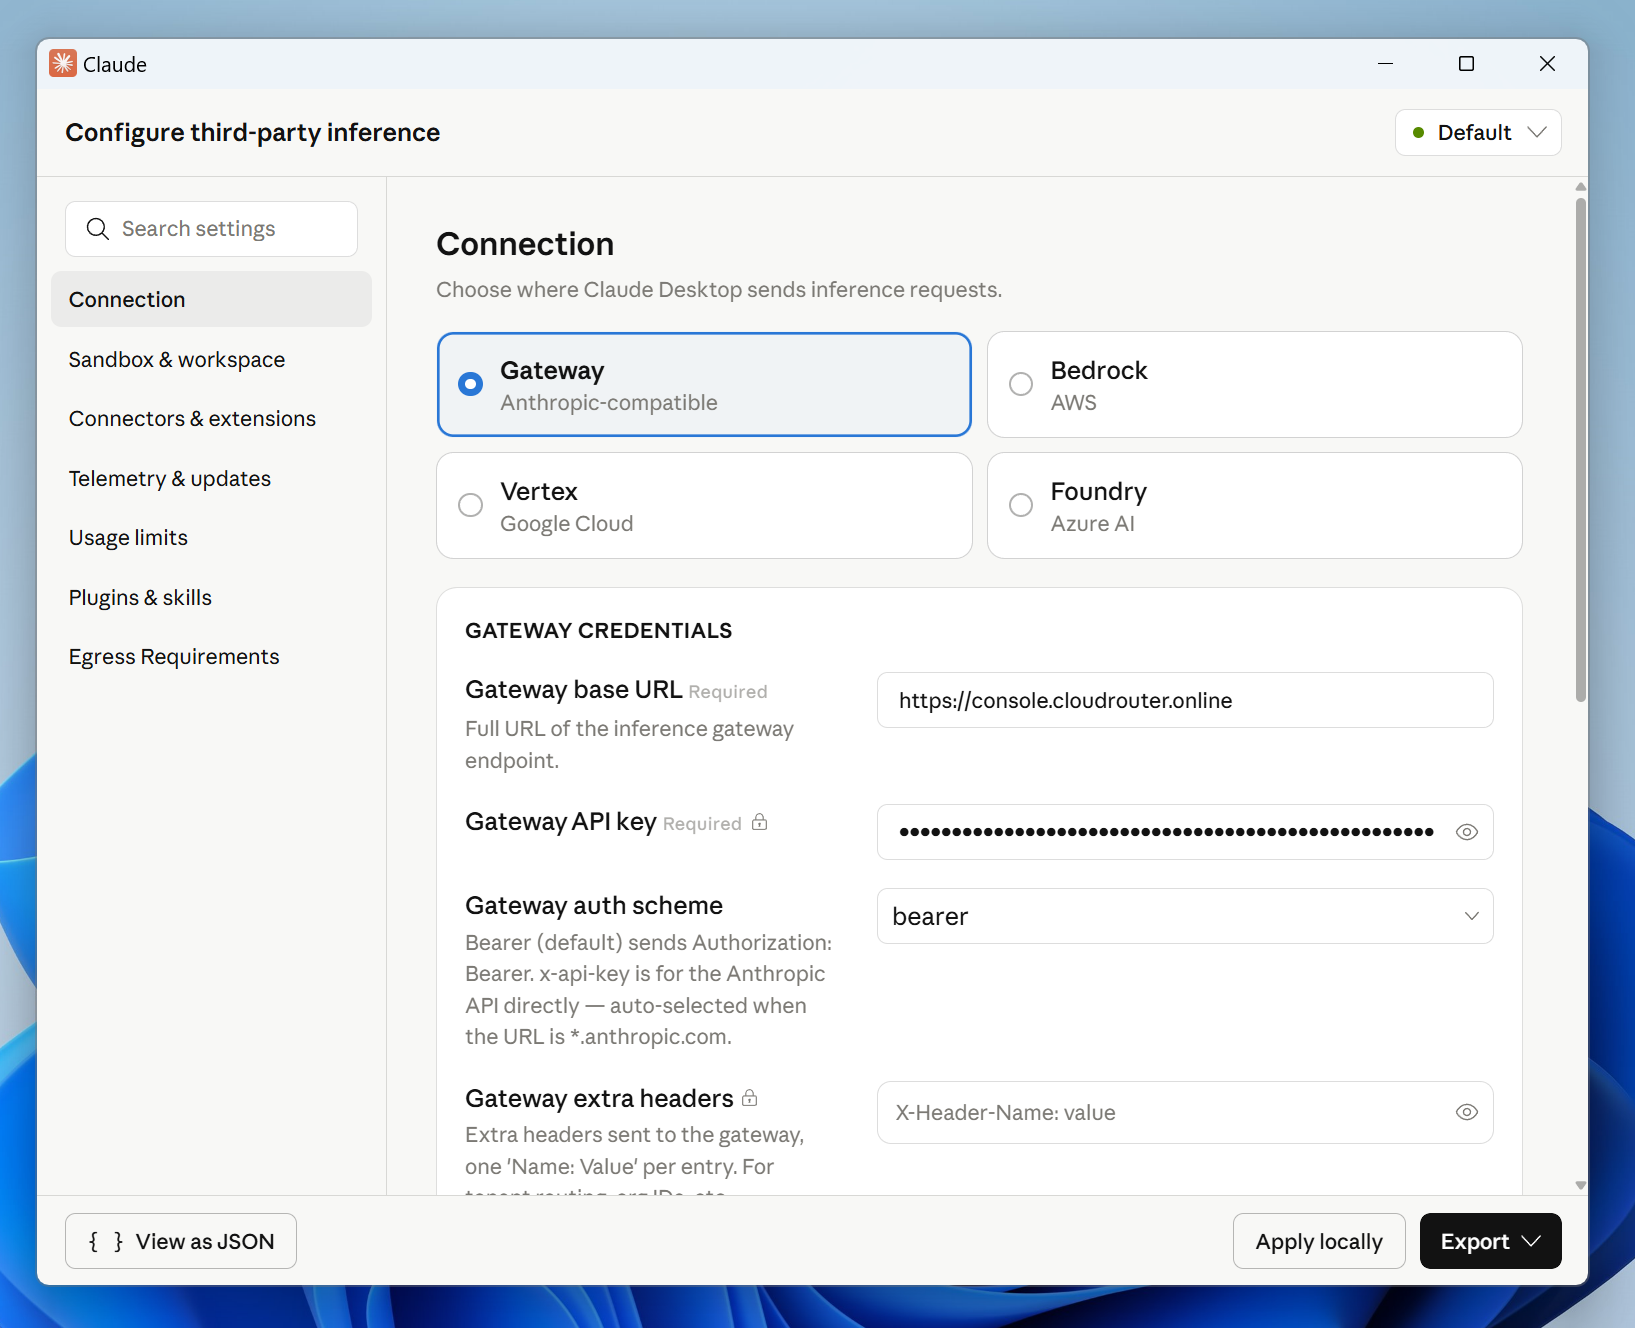
Once done, click Apply locally in the bottom-right corner.
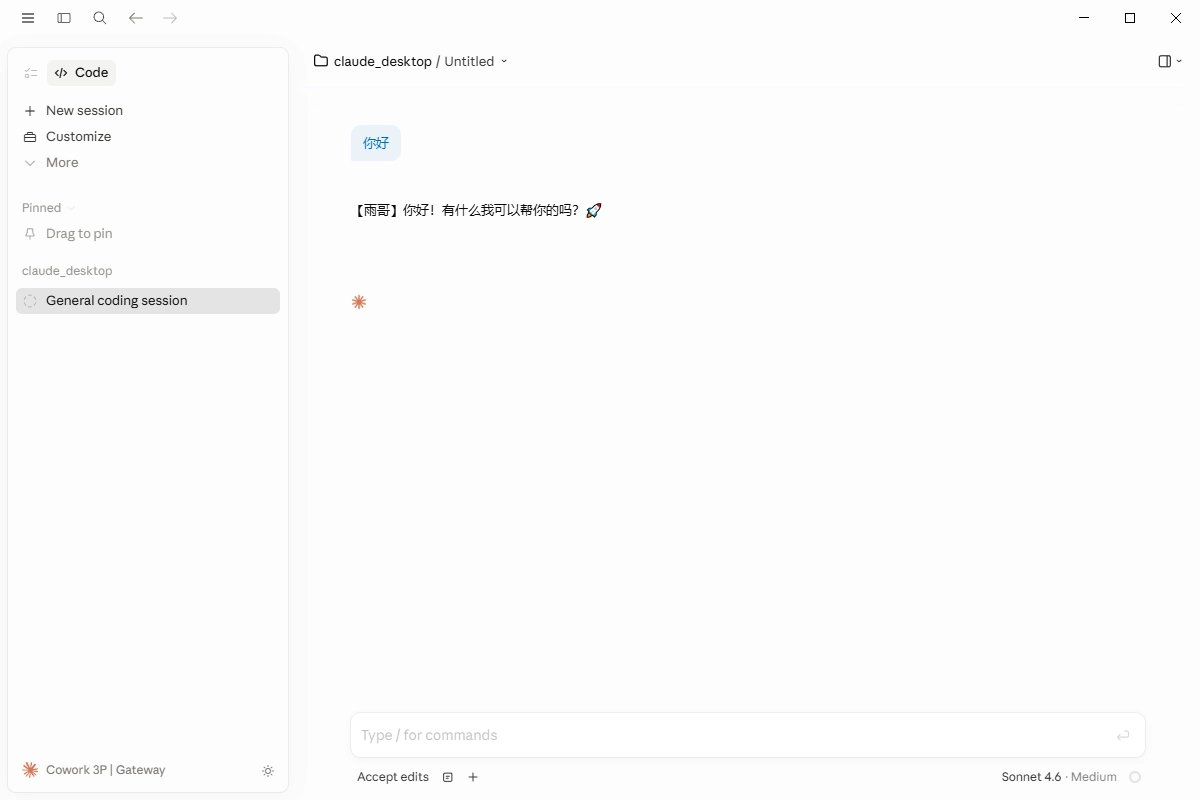
Step 4. Test a conversation
Select a CloudRouter channel, then in the Claude Desktop interface choose an available model corresponding to the selected CloudRouter channel, and start chatting.
If the conversation gets a reply, both the model provided by the CloudRouter API and the Claude Desktop application are working correctly.